Making soap should be simple and rejuvenating, but we have somehow made it complicated and harmful. With the advent of modern chemistry, we began to study the vast array of chemical elements and compounds that we were surrounded by. Aided by technological developments, we used this knowledge to create totally new types of chemical compounds. Many of these synthetic chemicals have had such a profound impact that modern life would be almost unthinkable without them, but their effects have not all been positive. As they have not developed in a natural and organic way, they are not in harmony with the wider nexus of life. They can’t easily be broken down by bacteria, fungi, or other micro-organisms, and so tend to just accumulate. Many of these chemicals, such as insect repellents or cleaning products, are specifically designed to destroy life – which is what they do. We imagine that bacteria are all bad, and that by killing them we protect ourselves from disease, but exactly the opposite is true. We imagine that by flushing these products down the drain, we neutralise the effects, but instead we pollute our water supplies with an unimaginable amount of toxic chemicals every day.
So the first reason to make your own soap is to stop exposing yourself and the environment to toxic synthetic compounds. Our skin is permeable, and what you put on your skin seeps into the body. By making your own soap you ensure that you are only putting stuff into your body that you would want to have there. Along with this, by making your own soap you reduce or eliminate the environmental impact of global shipping and industrial production, as well as the creation of plastic packaging. While you may have to buy a few materials (unless you have access to the natural raw materials yourself), you eliminate at least one link in the global chain of production. This also means that, in the long run, making your own soap is cheaper that constantly buying individual bars of soap. Along with all these reasons, making your own soap is worthwhile because it is a fun creative activity that lessens our dependence on large corporate manufacturers. Whenever people feel empowered to do or make things themselves, they take another step on the toward true independence.
Here’s a step by step guide on how to make your own soap.
Step 1: Prepare materials
In order to make soap you will need most of the following:
Equipment
-a scales
-a pan (which you don’t want to use afterwards for cooking)
-a thick glass beaker
-a wooden spoon (or a stick blender if you want to save time)
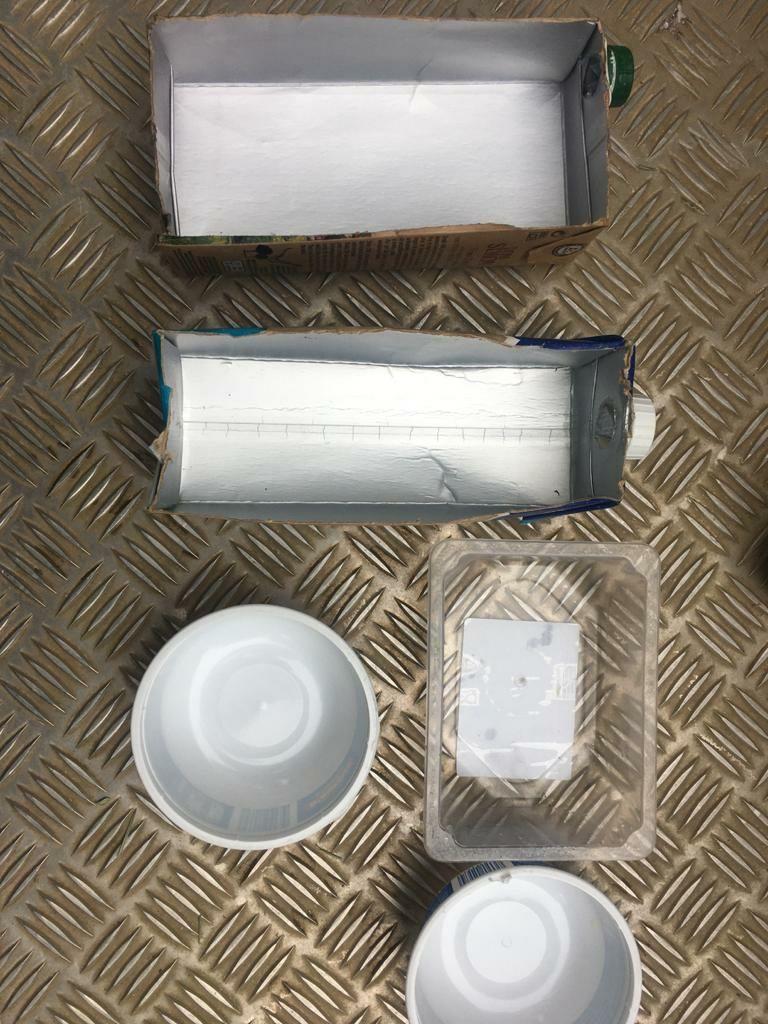
-moulds to put the soap into (eg. recycled tetra packs)
-protective gear (gloves, googles, mask)
-thermometer
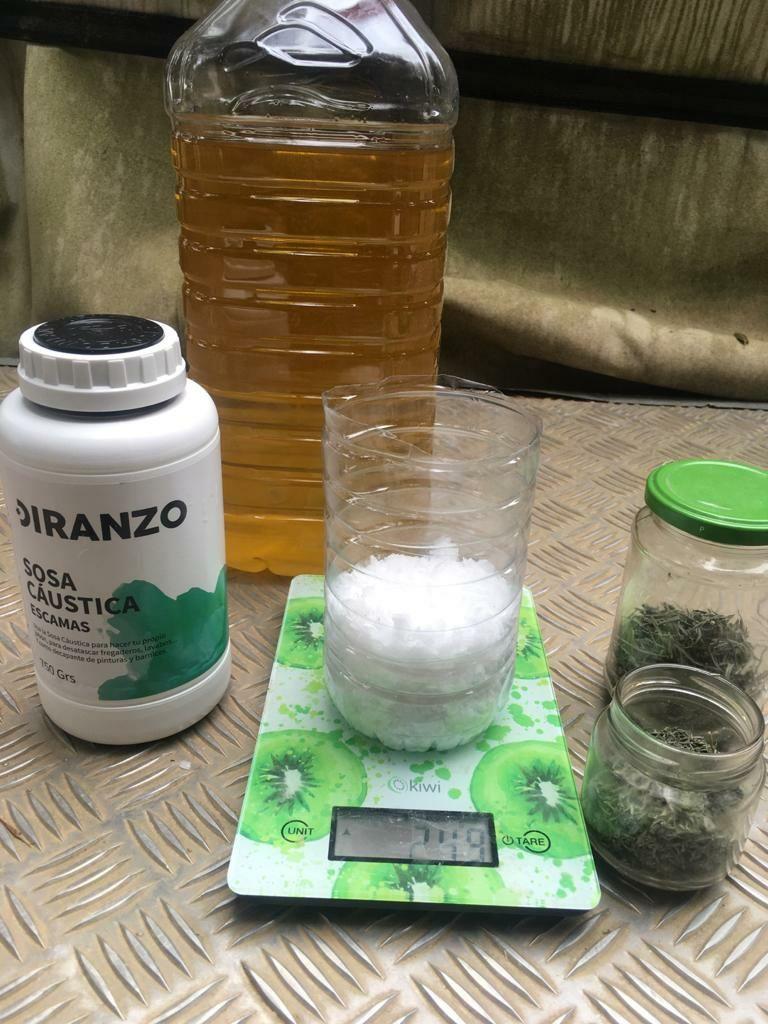
Ingredients
-Oils*, Fats (eg. olive, rape, coconut, shea butter, animal fats)
-Sodium Hydroxide** (also known as lye)
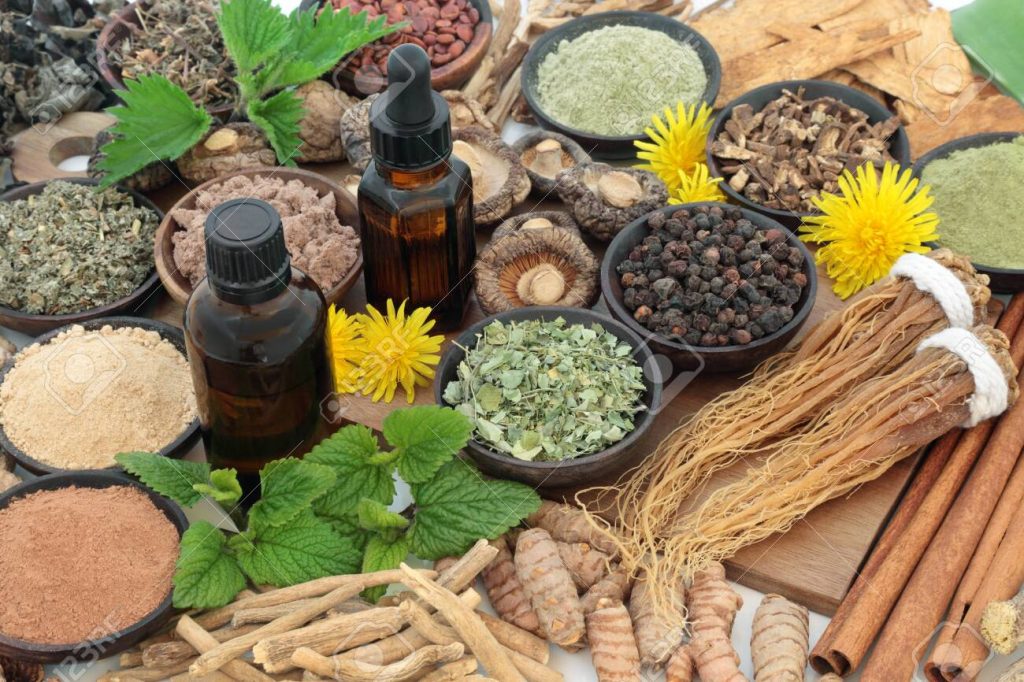
-Water (the water may also be infused the water with herbs and spices)
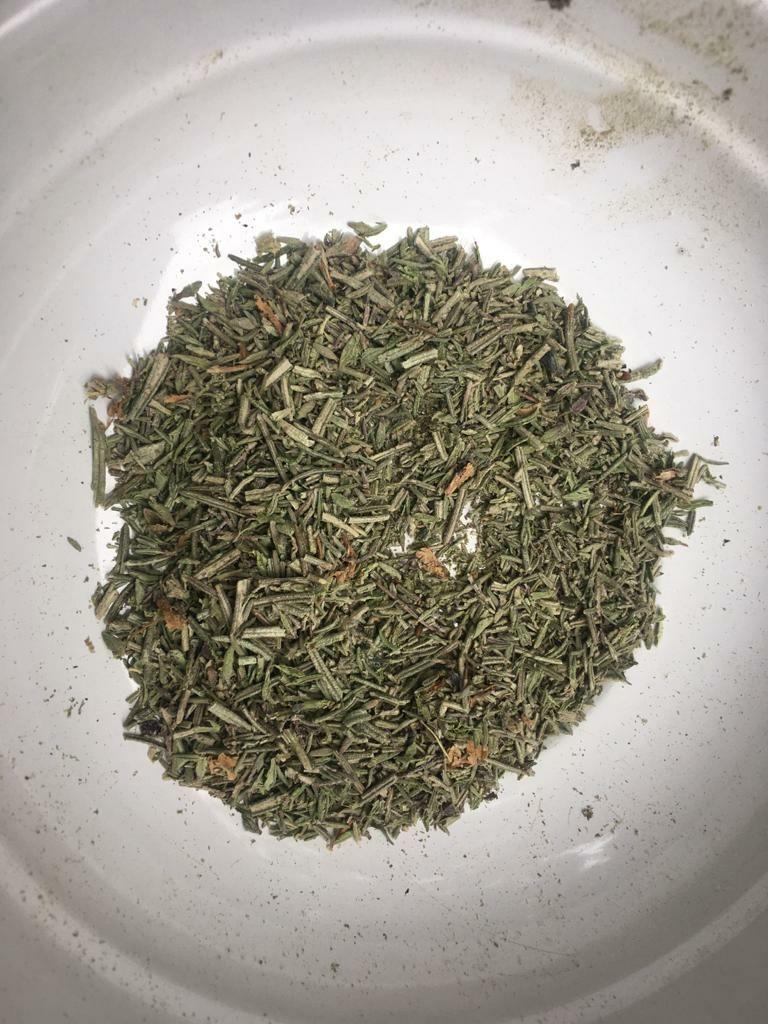
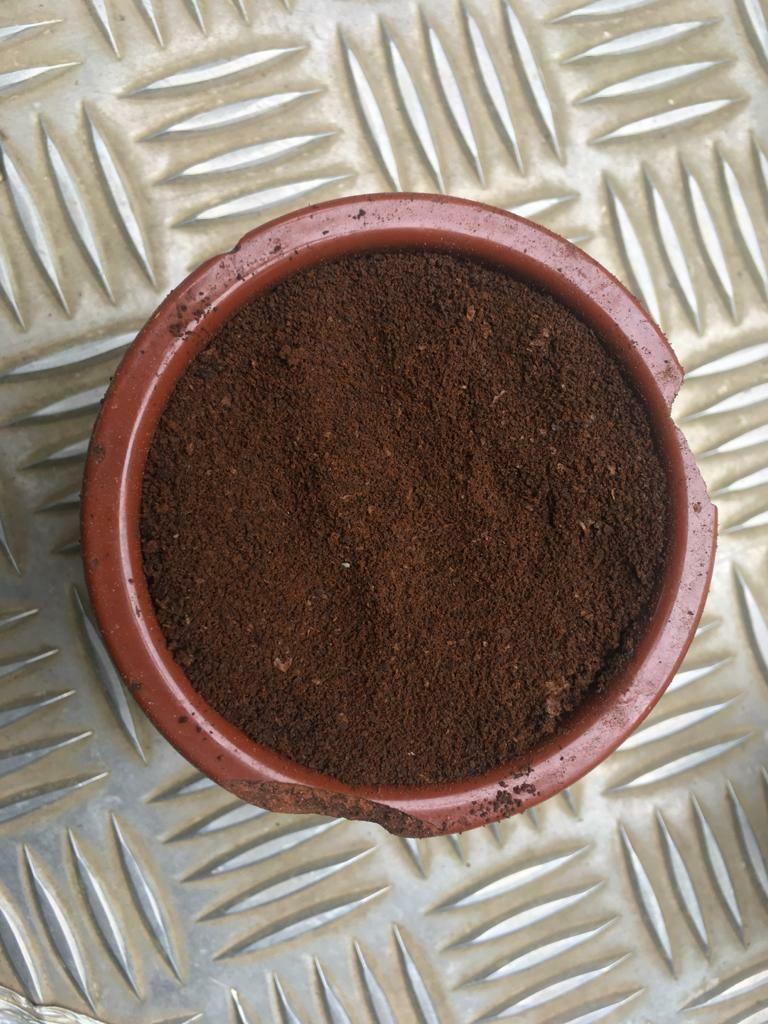
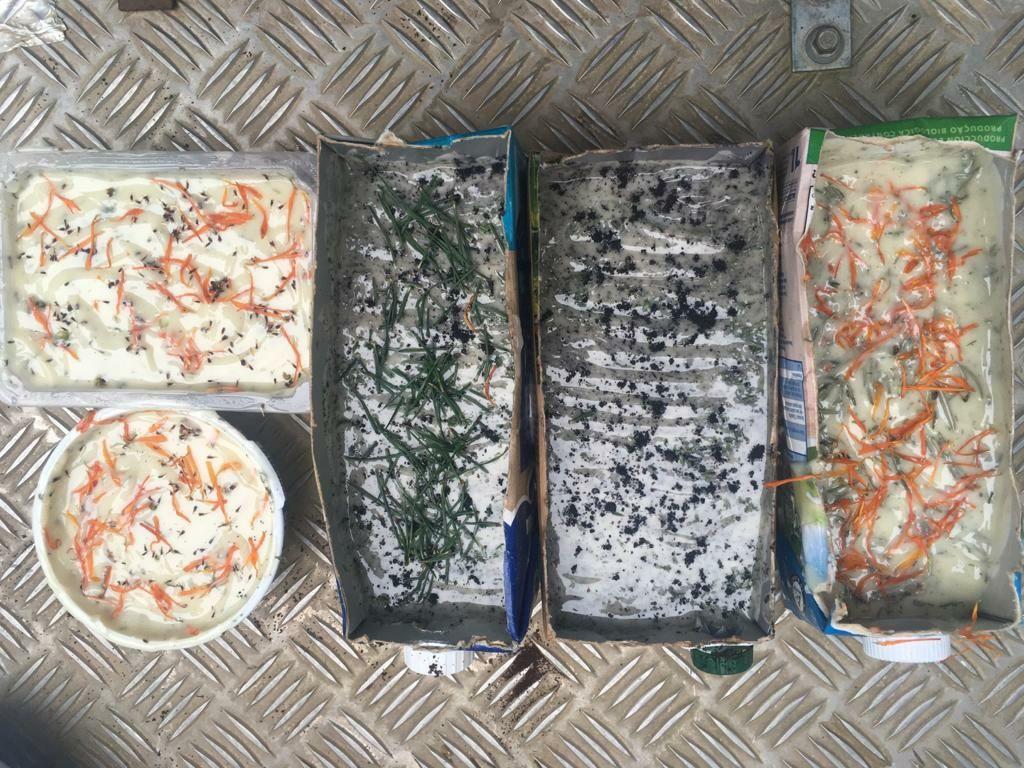
-Optional: Essential oils, Herbs and Flowers (must be dry or could later rot), citrus peel, Coffee Grounds, whatever you think would be nice
*If you want to recycle materials or save on costs, used cooking oil is fine to use after it has been strained through a cloth.
**If you want to produce Sodium Hydroxide naturally yourself: cook the white ash of hardwood trees in water until the ash settles, then remove the layer of lye that forms at the top.
Step 2: Calculations
Decide how much soap you wanna make. Based on this you can calculate the amount of lye, oil and water you’ll need. This calculation is a bit tricky because the ratio is always a bit different depending on which oil and fats you use. Luckily, there are many free soap calculator online that can help you with the calculation such as here. In doing the calculation, it’s generally good to factor in around 5% to 10% percent excess oils in the soap: otherwise it can dry out the skin. Once you have done the calculation, weigh out the oils, lye and water.
Step 3: Mix water and lye
This should be done outside and with protective gear. Mixing lye and water creates a lot of heat and caustic fumes so be careful.
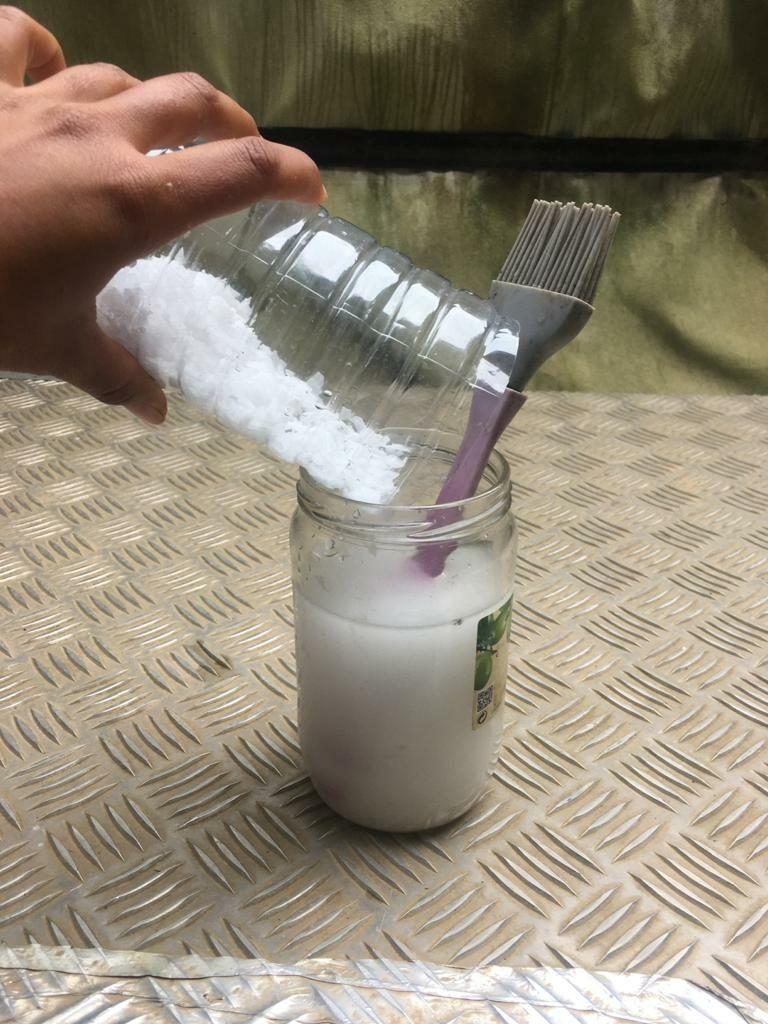
Pour the water into the glass beaker. It should be thick to withstand the heat of the reaction. Then, slowly add the lye to the water while stirring with a spoon. Once this is all done and the crystals have fully dissolved, leave the lyewater to cool until it is about 40 degrees.
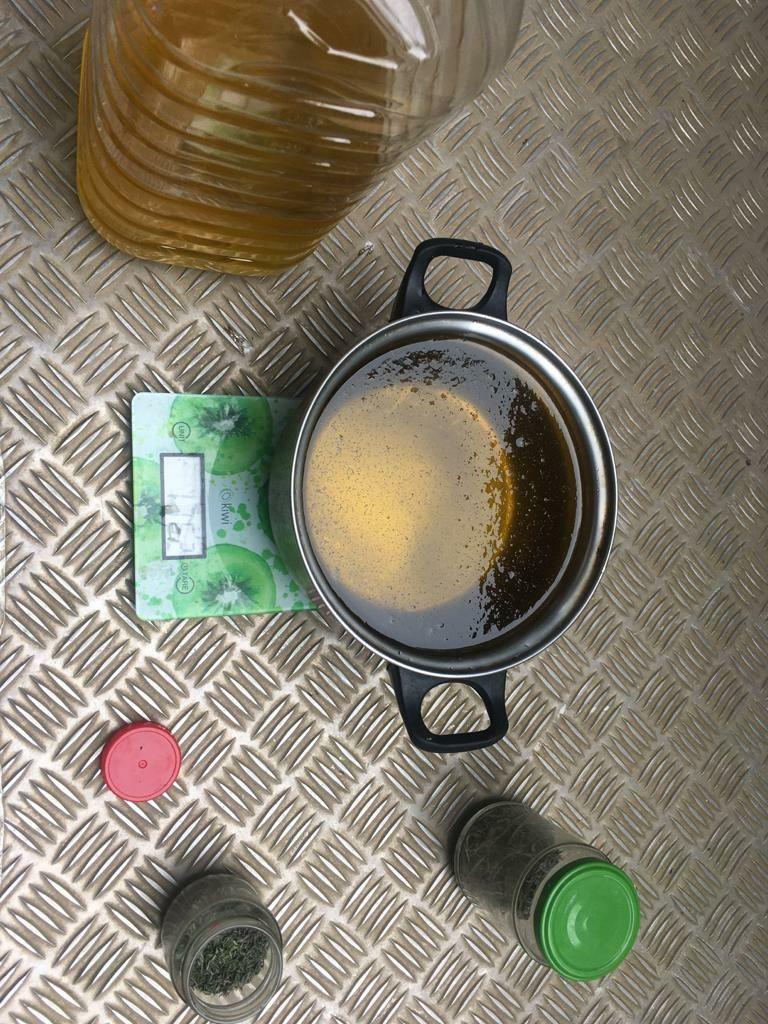
Step 4: Warm the oils
Put the oils into a pan and put on top of a flame. Here we used only olive oil but you might want to mix a variety of oil. Try and bring the oils to roughly the same to same temperature as the lye.
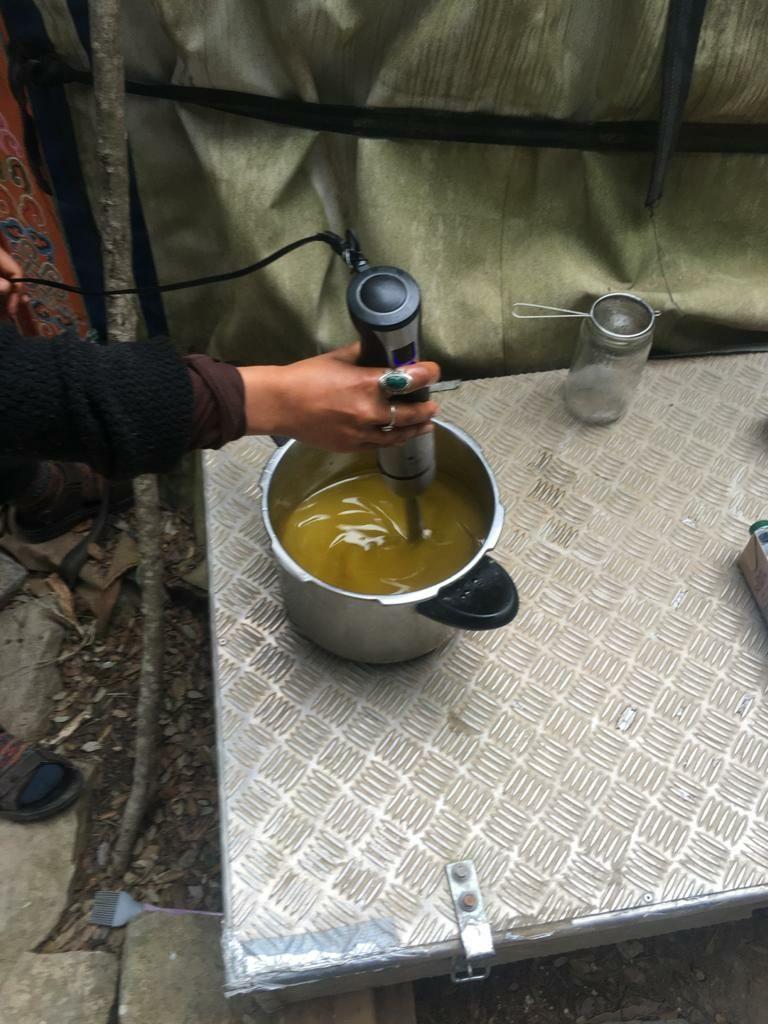
Step 5: Add lye water to the oil
After you have added the lye water to the oil, begin to stir. This can take up to an hour with a wooden spoon, or about ten minutes with a stick blender.
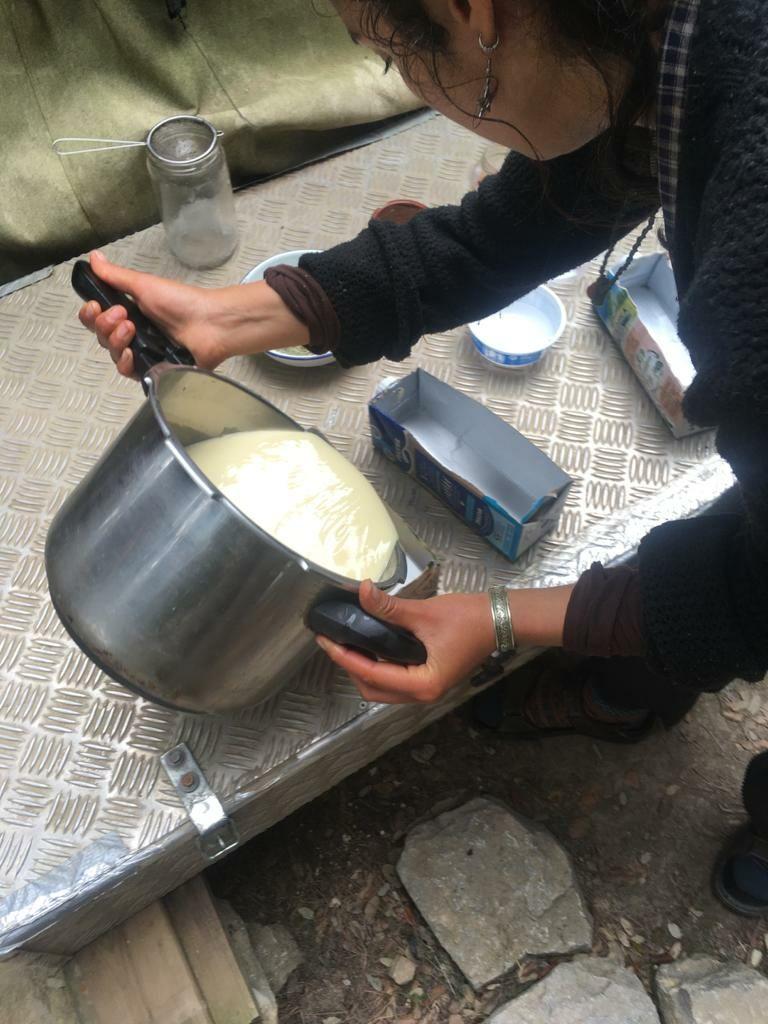
You know that it’s ready when it traces: when after picking it up with a spoon and letting it fall, it sits on top for a few seconds. You can either now add the extra ingredients (essential oils, herbs, etc.) or wait until the soap is in the moulds.

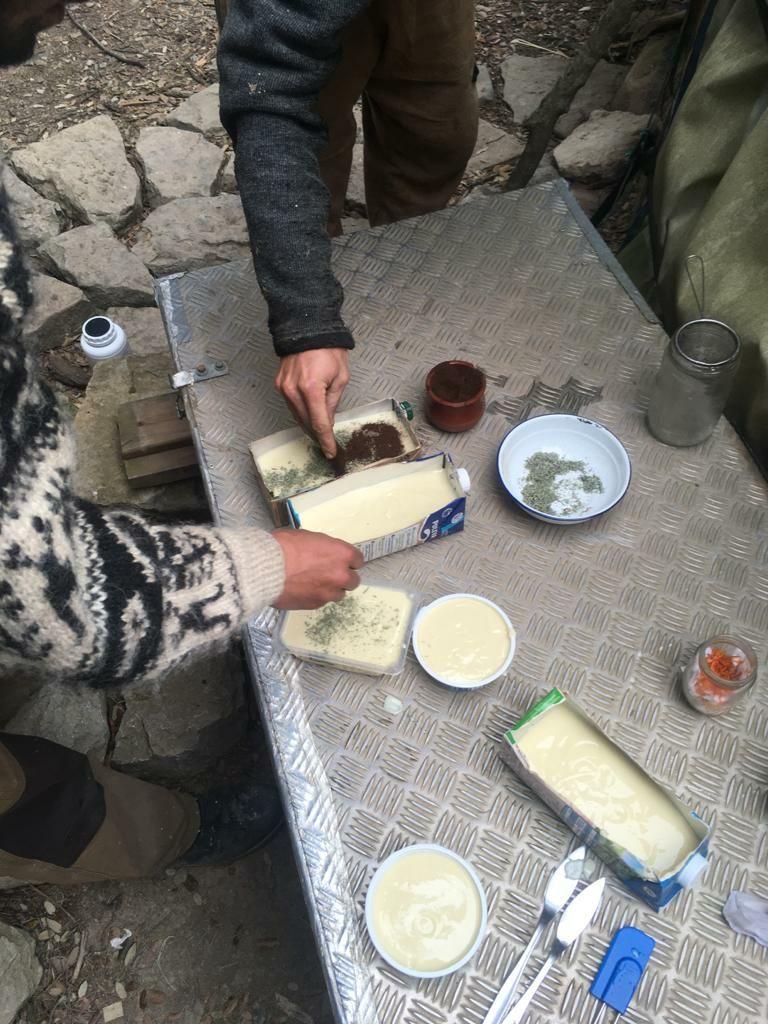
Step 6: Pour into the moulds
Add extras if you haven’t already.
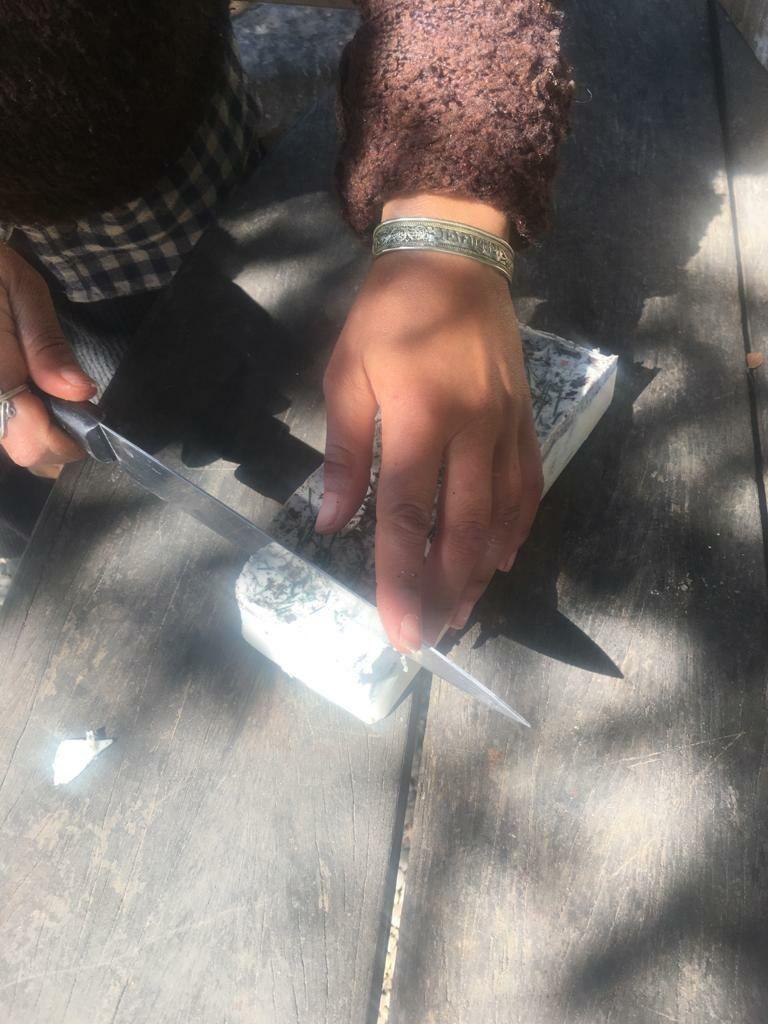
Step 7: Allow to set for two to three days
Then cut into shapes.
Step 8: Let it cure for three weeks in a cool dry place
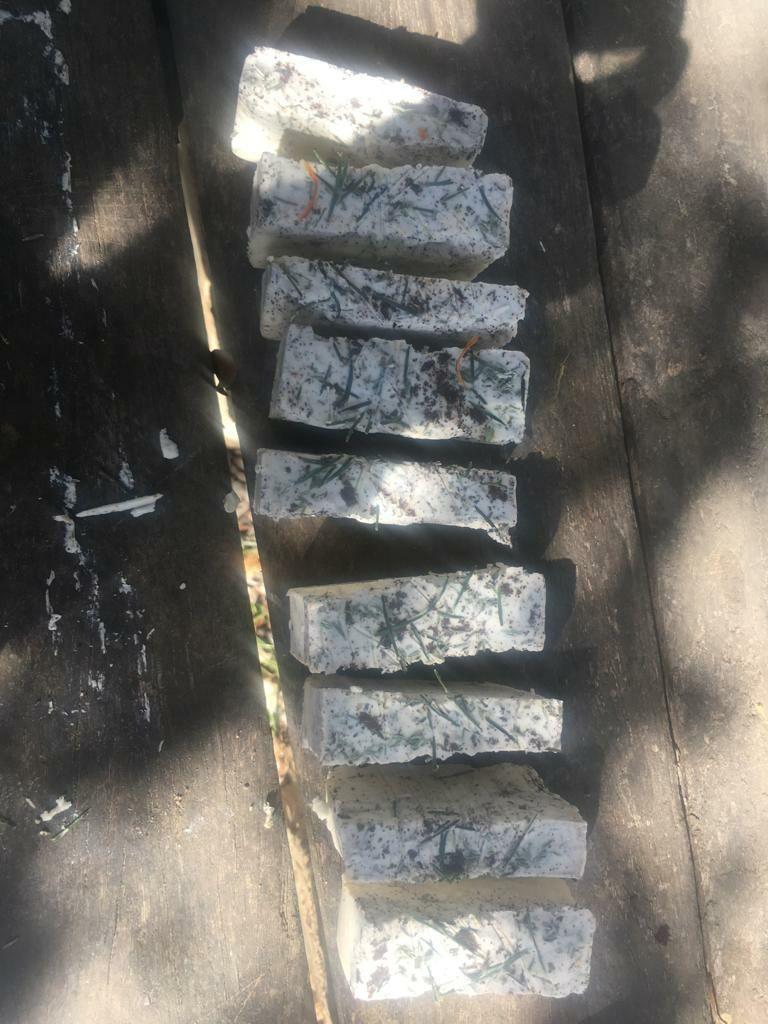
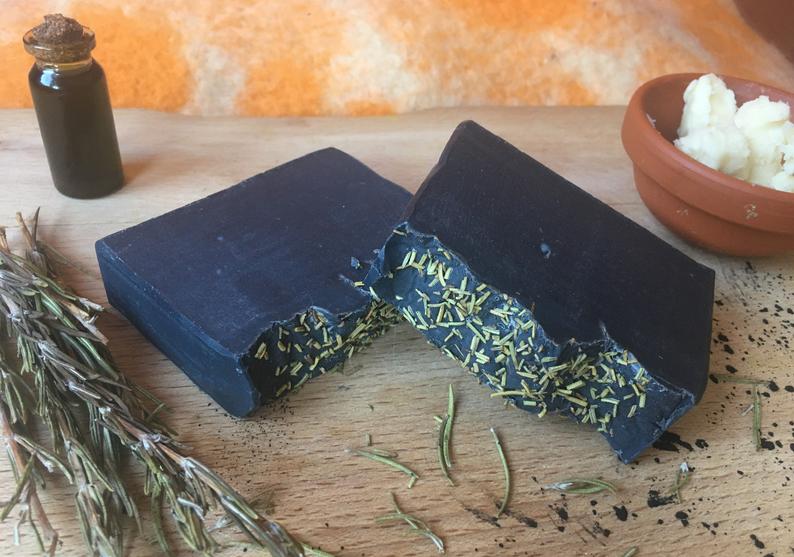
All done, now you have some super nice soap.
Thanks to Tara for this 🙂 you can buy some of her soap here