Clay and Sand are two of the most abundant materials on earth. They have been used in the construction of human settlements from the earliest times and are today used to builds houses all over the world. Their abundance, pliability and low ecological impact make them the perfect material to build with. Cob has an impress capacity to regulate temperate, and so lowers the need for energy inputs. It also pulls toxics from the air, naturally cleansing any living abode. Unlike concrete, which is a huge emitter of green house gases, the use of cob is carbon neutral, and so it is an essential resource in the building of a sustainable future.
Step 1: Test the Soil
Cob
is a mixture of clay, sand, water, and straw. If you try and build with
pure sand, it won’t hold; while pure clay is less robust than cob. The
optimum ratio of clay and sand is about 1 to 2 (one part clay to two
parts sand), but as with everything in natural building, feel free to
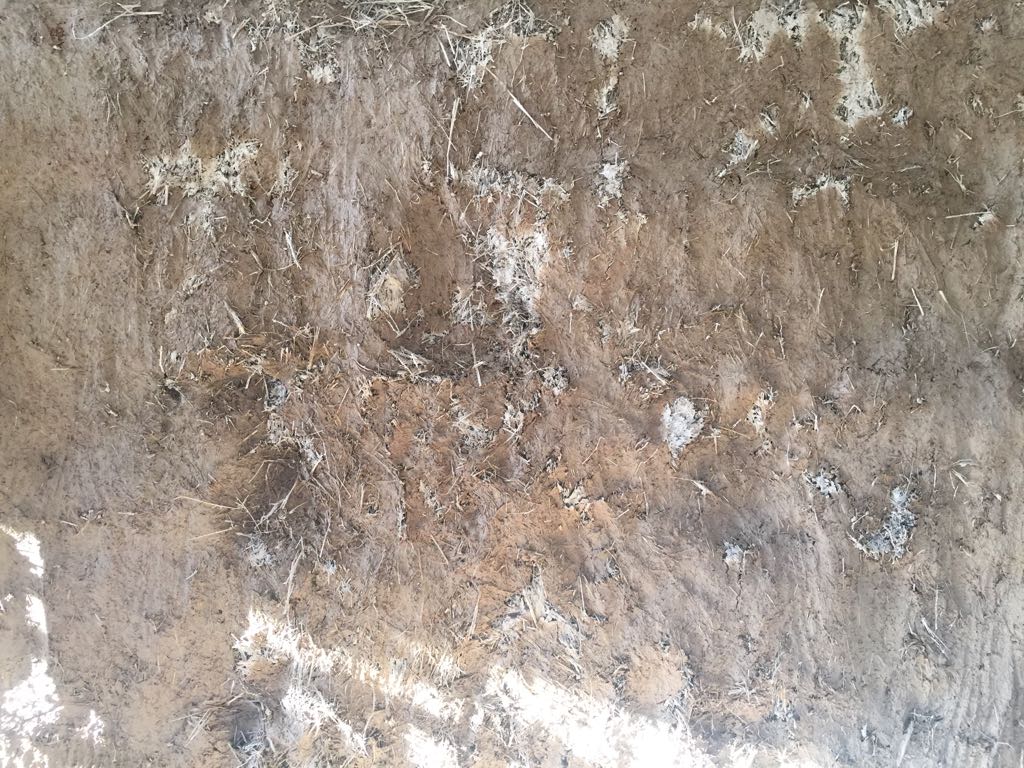
experiment. If you have to soil, you can test to see if it is
appropriate for use as cob. Get a jar, fill it up almost halfway with
soil, and the rest with water (but leave a little space). Shake, and let
it sit for a few hours. Come back and the clay and sand should have
separated from each other, indicating the ratio in your soil. If your
ratio is not right you’ll have to add something. Dried riverbeds are
great places to find clay, beaches and lakes to find sand.
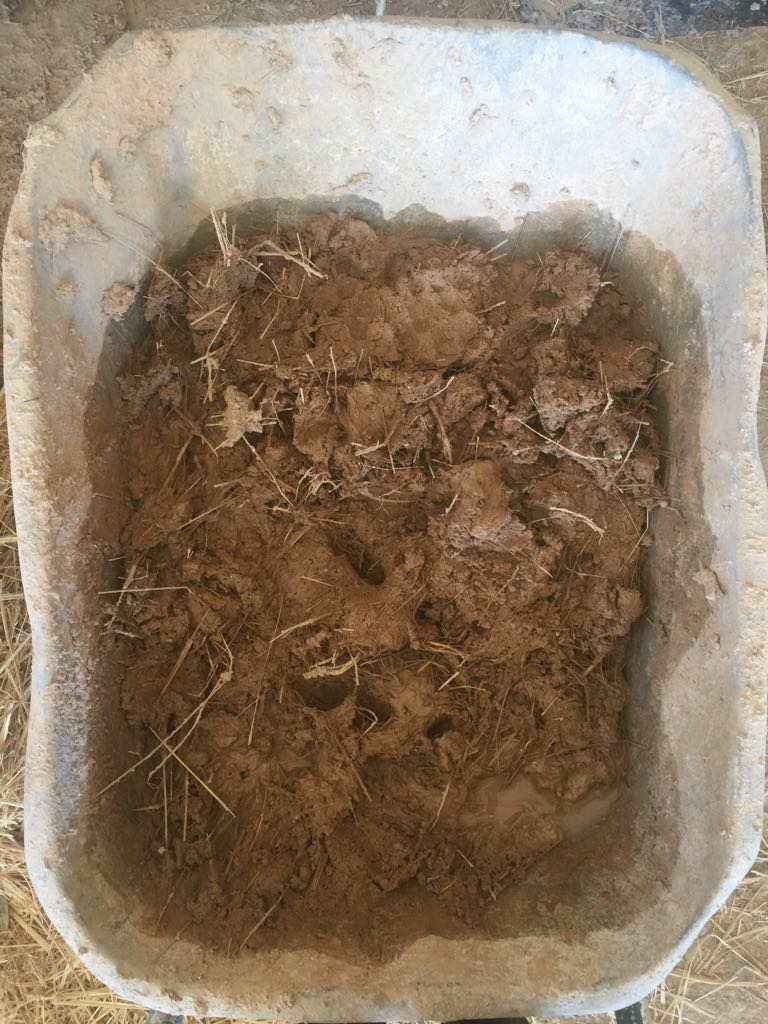
Step 2: Make the Mix
Throw
the sand, clay, water and a bit of straw into a pit or a wheelbarrow
and stir around with a shovel. You can also use a cement mixer to speed
up the process. The mixture is something you will get a feel for pretty
quick when you start using the cob. Too dry and it won’t stick, too
watery and it will run. The mixture will also depend on the material it
is being applied to. The first layer on a straw bail will need to be a
lot more watery than the first layer on wattle and dob.
Step 3: Apply the Cob
Cob
can be applied to a huge number of surfaces; wood, stone, straw. You
can create a wall using just cob in what is called the ‘rammed earth’
technique. As you might be able to imagine, you set up to temporary form
boards and ram the earth between them, compressing the cob as much as
possible. The walls we built we used at Keela Yoga Farm were straw bails
for the exterior walls and waddle-and-dob for the interior walls.
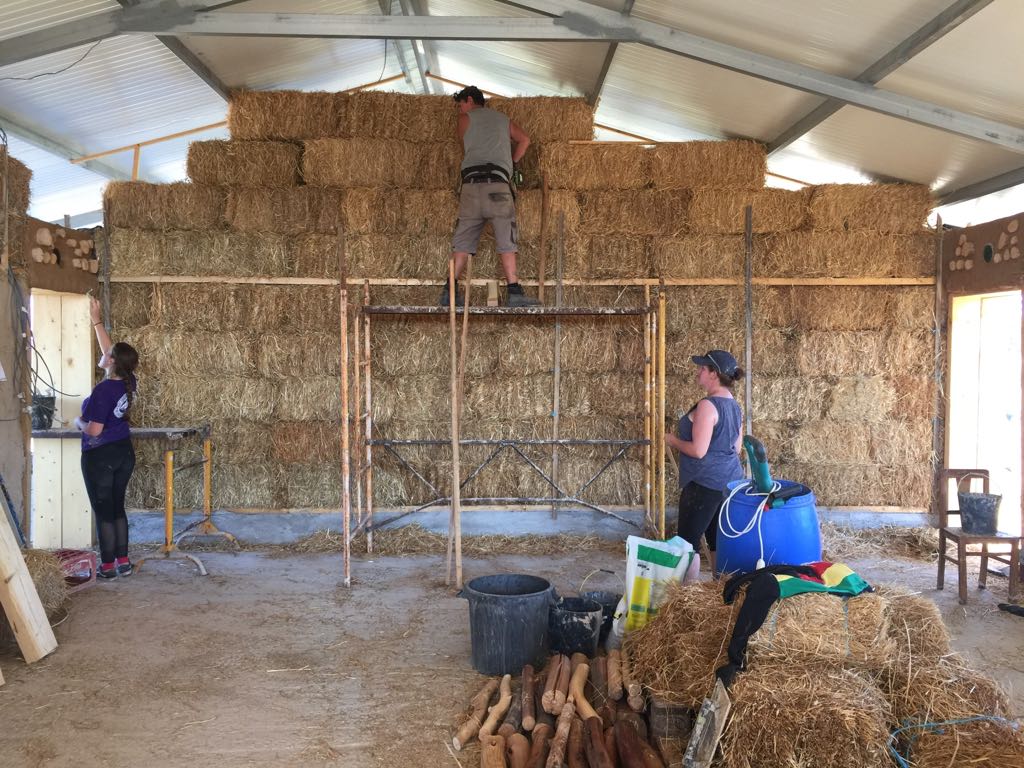
The uses of straw bails in construction began in the 19th century in the US and straw has become very popular as a cheap, ecological, and effective material for construction. To make a wall out of them requires lining them up in the desired location and applying several layers of cob. Before as I mentioned, the first layer should be very watery as thick dry clods won’t stick. I found that when first applying the cob, you really needed to rub it hard, as if giving a massges. After applying the first layer, leave it to dry. When it is dry you can apply the second layer. Before you do this you will want to wet the surface of the wall so the second layer can bind with the first. This one can be thicker and more solid than the first. At this point you may want to use a trowel but that isn’t necessary until the final layers when you want to get it very smooth. Continue, adding a third, fourth and fifth layer. By the fifth layer you will want to be using the trowel and trying to get it to look smooth and nice. The final layer is also a special mix. You can use pure clay mixed with flour (which is a binding agent) to get a smooth finish. Otherwise, you might want to apply a layer of lime to make it a bit more resilient and brilliant white.
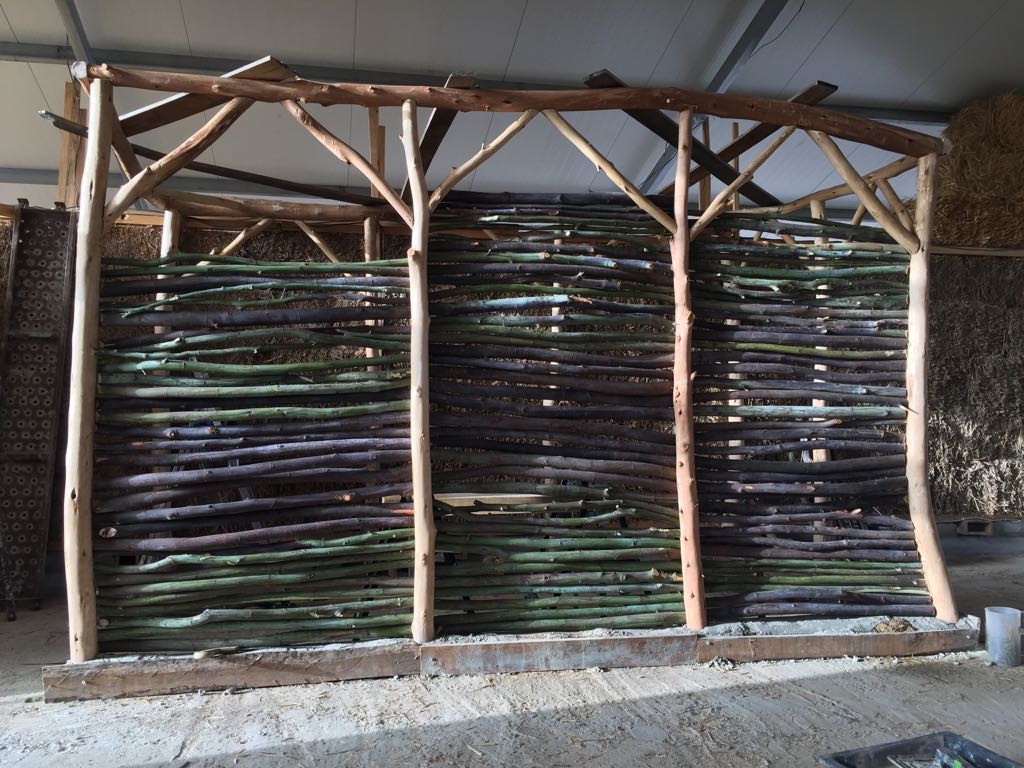
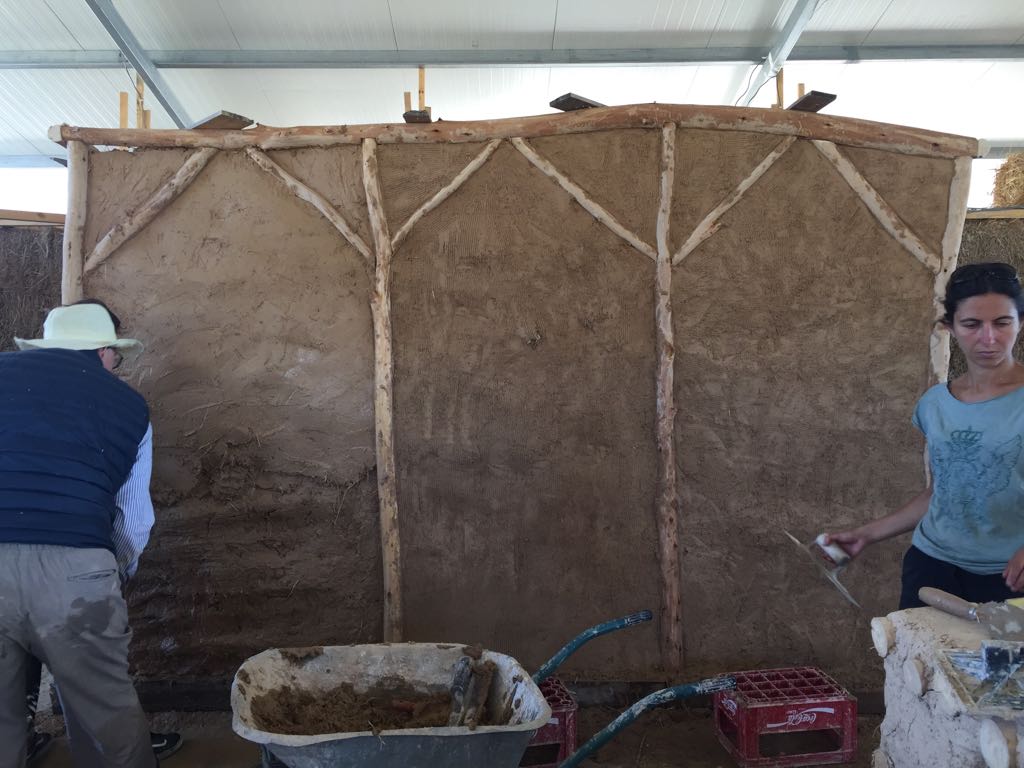
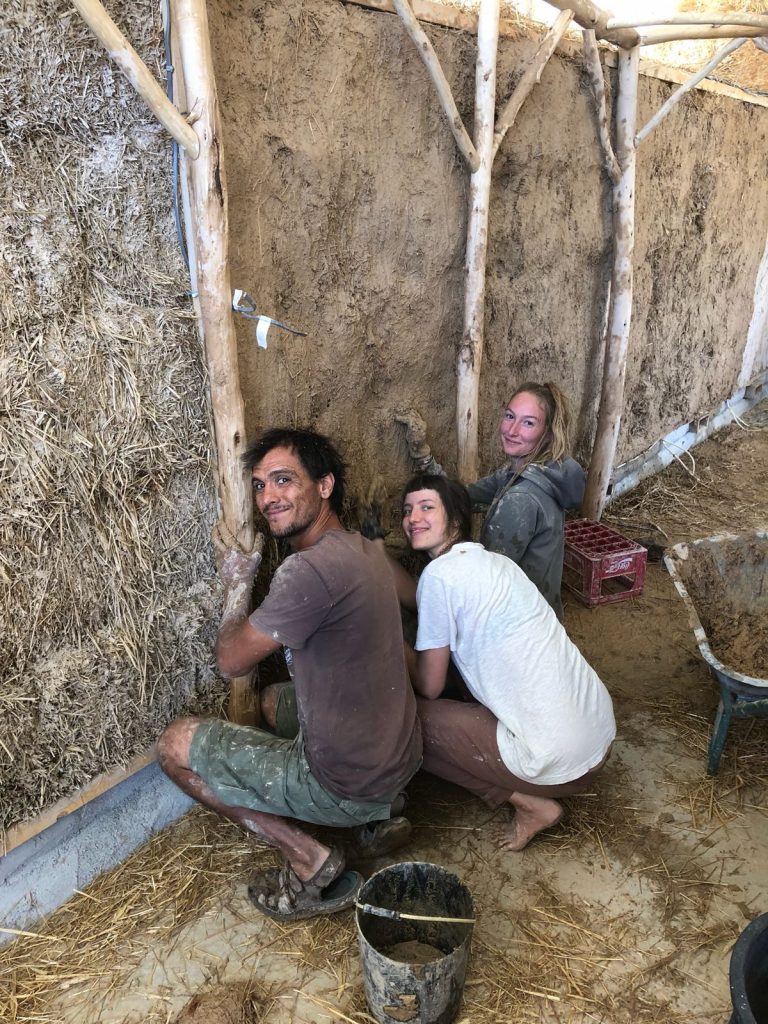
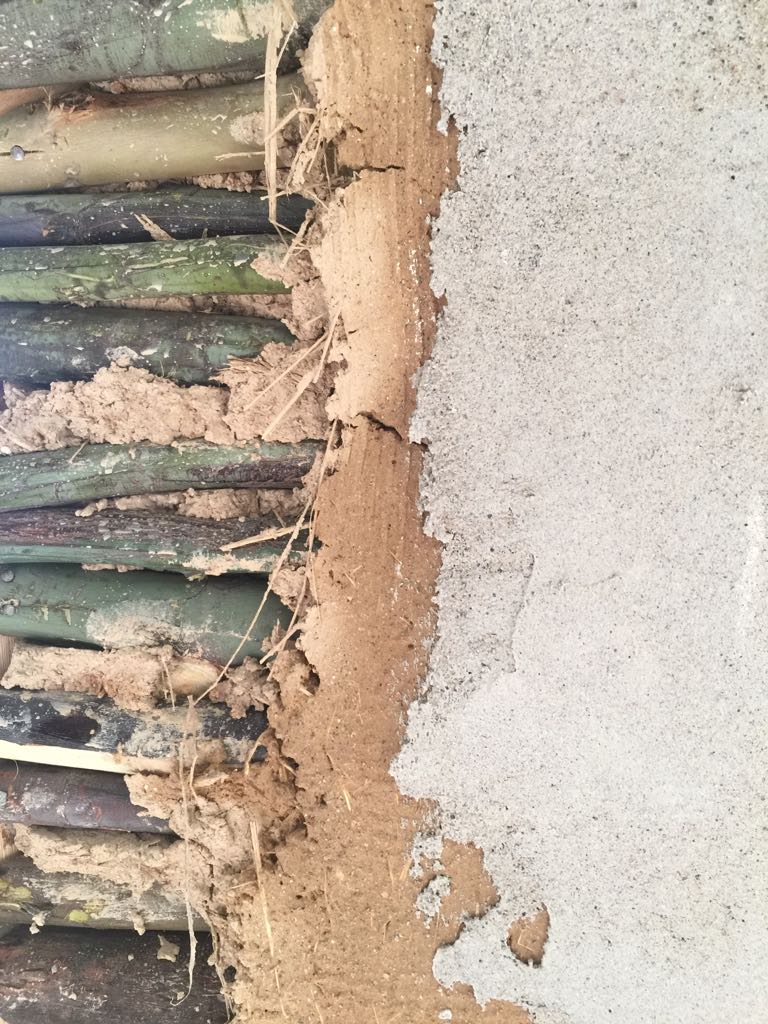
Wattle-and-dob is an ancient building technique. To begin you plant two large posts in the ground. Then you fill up the space between these posts by nailing, or weaving, smaller branches closely between them. When this is done, you take your cob mixture and apply it to your wall. Again, the first layer is just about getting the cob to stick, but it will be easy enough is the gaps betweens the branches isn’t too large. Just take a clump of clop and throw or smear it on. Allow the first layer to dry, then apply another. You wet the wall again before each layers so to help the new layer to stick. Do this until you have your wall at the desired smooth/thickness. As with the straw bail walls, the last layer you do can be pure clay mixed with flour or some other binding agent, or else lime.
Once this is all done, sit back and marvel at the beautiful house you just built.
Respect to the amazing Natural Builders Barbara of Mount of Oaks and Laurence of Keela Yoga Farm for teaching me all this.