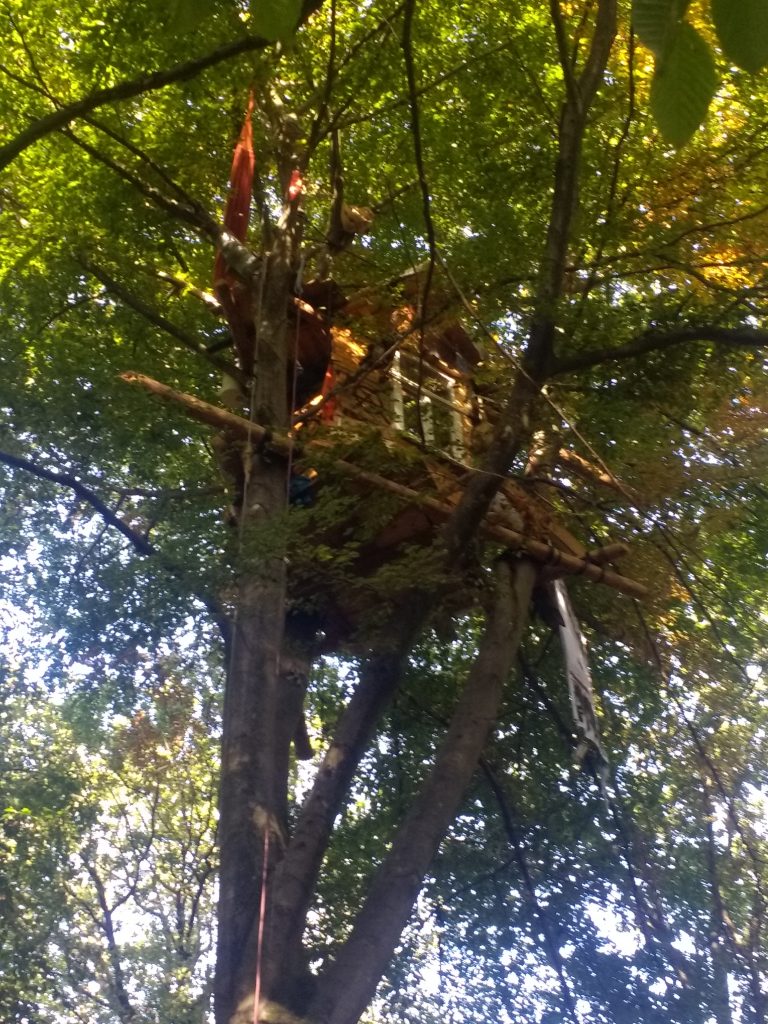
With many ecosystems under attack, people have started to put their bodies on the line to protect the natural world. While it is difficult to stand against State and industrial forces on the war path, some ecosystems offer activists a strategic advantage. Unlike in many other parts of the world, corporate forces in Europe generally can’t outright murder you for getting in the way of their ecocide. Get high up into the trees, and it won’t be chopped down. Build structures in the trees that you can live in, and you make business as usual environmental destruction a lot more complicated.
And it’s not just Hambacher Forst that have realised the potential benefits to action climbing. The history of action climbing goes back at least to 1978 when New Zealand activists staged a “tree sit,” climbing high into the trees to stop logging in an area now known as Pureora Forest Park. Also in 1978 a Greenpeace activist, scaled the Sears Tower in Chicago to protest whaling. Over the proceeding decades, more actions took place and action climbing grew in importance. ‘By the 1990s, action climbing started to get codified, with formal training and safety considerations on par with, if not exceeding, those for rope access work.’1 Here are some of the basics for climbing, as well as some important knots in the activists toolkit.
Climbing
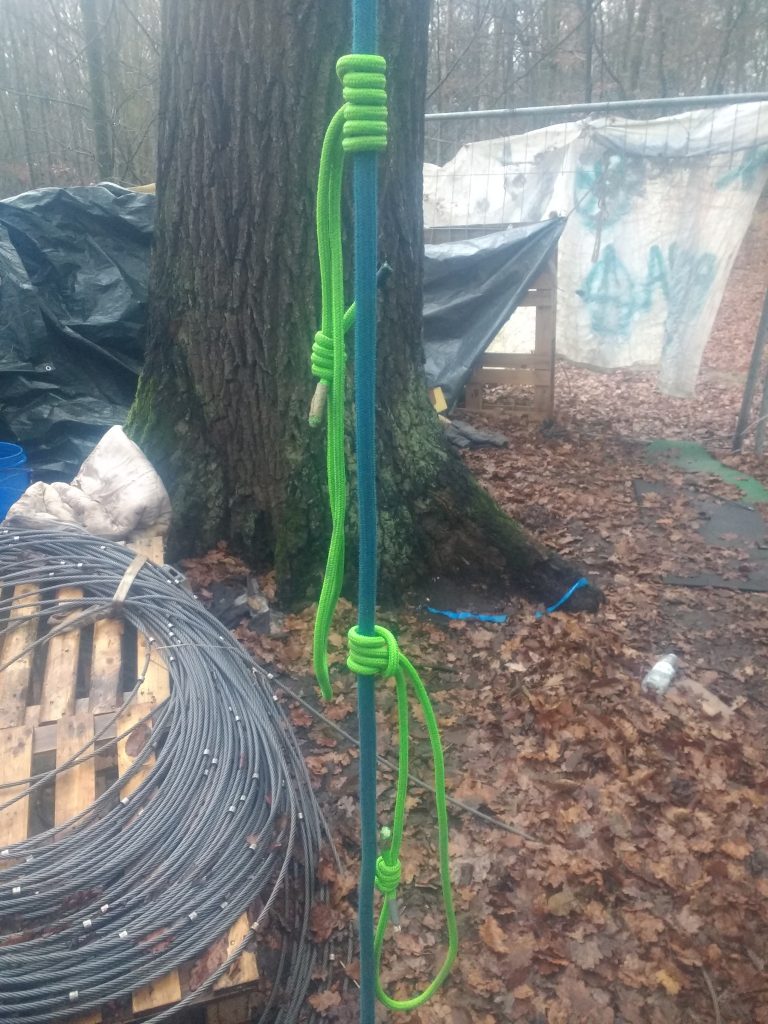
To get up and down a tree you will need; a climbing belt, two carabiners, a chest prusik, a foot prusik, and an 8 (not essential but it makes things a lot simpler). [NOTE: This guide is meant to give you an idea of how to climb, but climbing is a potentially dangerous activity. I don’t recommend doing this without first being shown by someone with experience.] Starting from the ground with the belt on, the first thing to do is take the chest prusik, and tie it to rope you are going to climb on. You do this using a prusik knot, wrapping the chest prusik around the rope three times, going inward from the initial wrap around, before pulling it together tight.
This knot allows you to move the prusik up or down when it is loose, but will stay firm when under tension.
Next you do the same thing with the foot prusik, attaching it below the chest prusik.
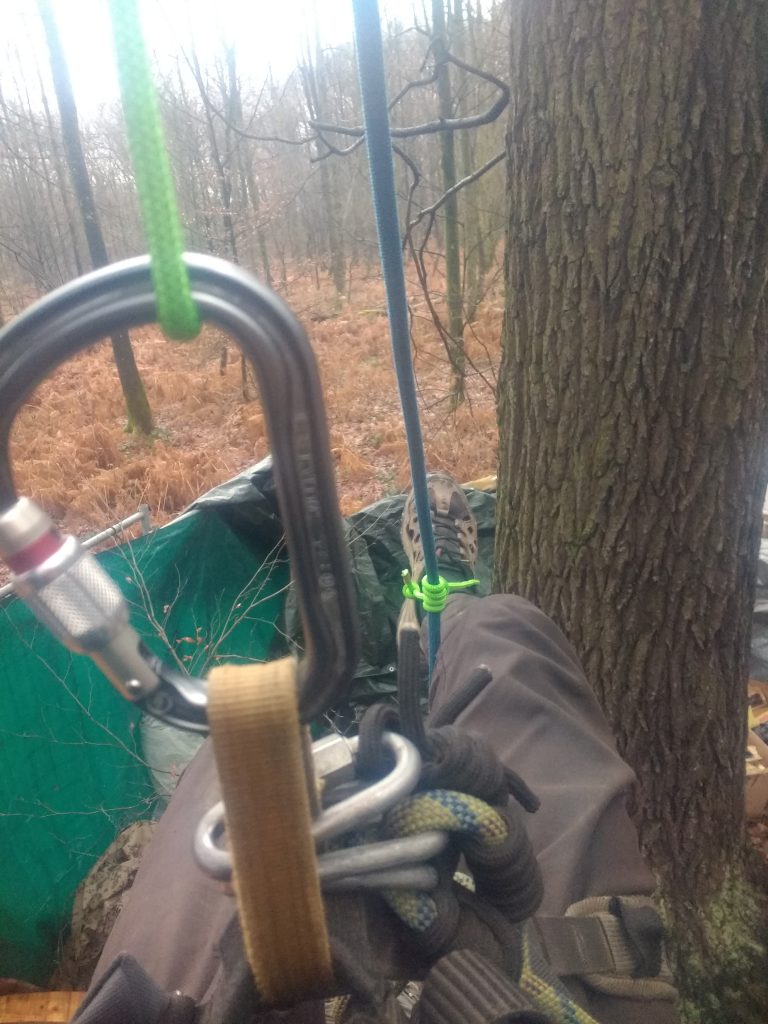
With the two prusiks connected to the rope, you take one carabine, connect it to your belt, and then connect it to the chest prusik. Pull the chest prusik as high up the rope as you can, then allow yourself to be suspended by it. When suspended in the chest prusik, pull the foot prusik up the rope. Then put your weight in the foot prusik, allowing you to move the chest prusik up the rope. Do this until you are the top of the rope.
To get down, you have a few options. If all you have is the two prusiks, then you use the same method described to go down the rope. This time, instead of moving the chest prusik up when you are in the foot prusik, you move it down, and vice versa. But as this method is very time consuming, it is handy to have an 8.
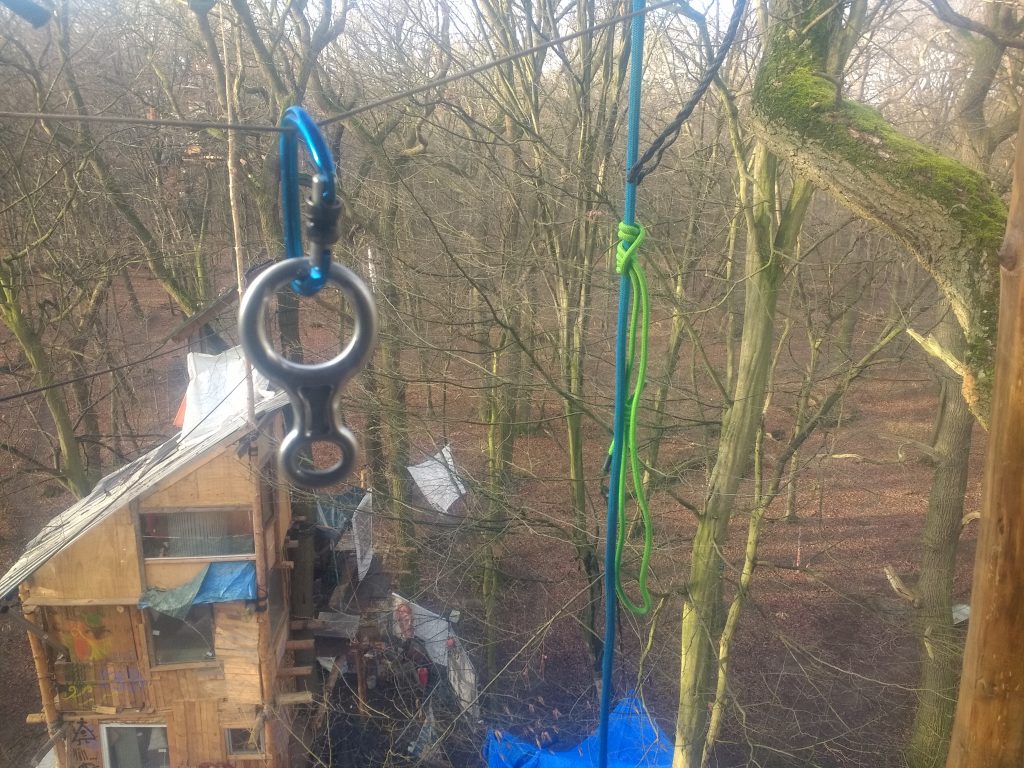
To use the eight, you first attach the chest prusik to the rope in the same way described above, and attach it to your belt with the carabine. But instead of attaching the foot prusik, you take the 8, take the rope, and move the rope through the big opening of the 8, and around the small one. Then take your second carabine, and attach it to the 8 through the small hole, and then to your belt. Make sure it is below the carabine that is connected to the chest carabine.
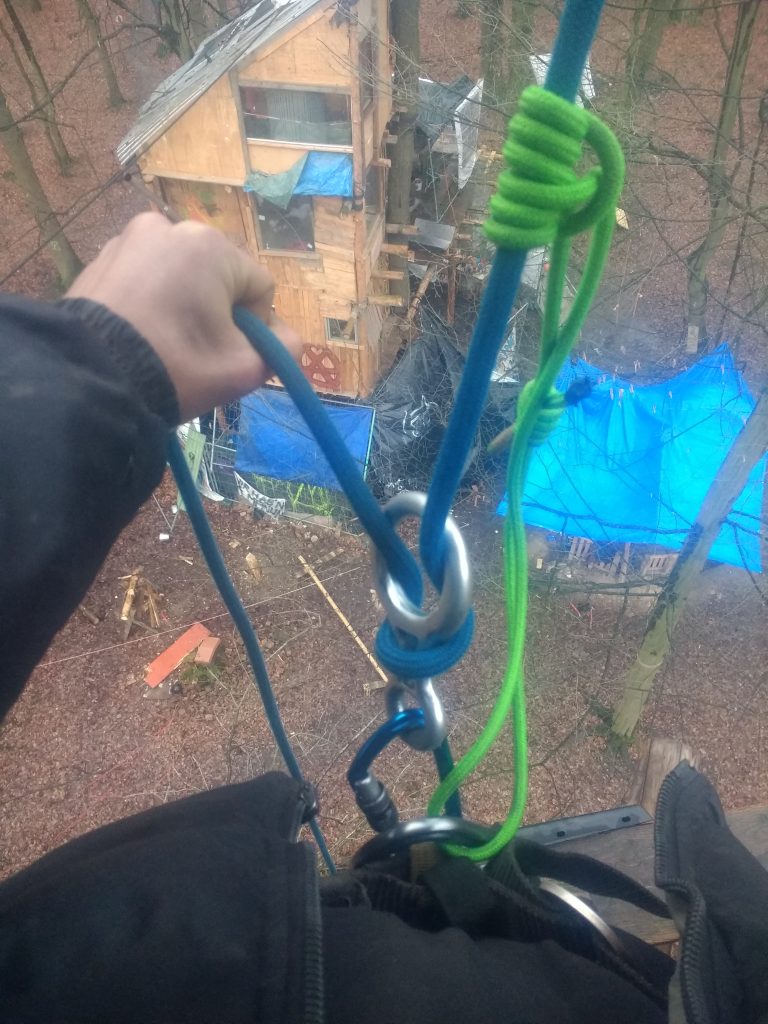
With both the prusik and the 8 connected to the rope, you are ready to repel down. Take two fingers of one hand and put them above the prusik knot. Then, with the other hand, take a hold of the rope below the 8 and pull it tight. Step off the platform, while holding tight onto the rope below the 8. To go down, simply allow the rope to pass through your hands, bringing the chest prusik down with you using the two fingers of the other hand. Be careful not to release the rope too fast, or you will burn your hand. Also, if you fail to bring the prusik down with you, it will be put it under tension, and you won’t be able to move. To free the chest prusik from its tension, you will need to make a foot lock, wrapping the rope around one foot and standing on it with the other. This will take tension off the prusik, and again allow you to repel downward.
Knots
Fisherman’s Knot
To make the chest or foot prusik you have just seen, you take a piece of rope and connect its two ends together using the double fisherman’s knot. The fisherman’s knot is done by taking one end of the rope, wrapping it around the other end twice, crossing the loops. On the third wrap around, thread the rope in through the two loops you just made, going the opposite way from which it came in so it looks like this.
Then you take the other end of the rope and connect it in the same way, so it makes one big loop.
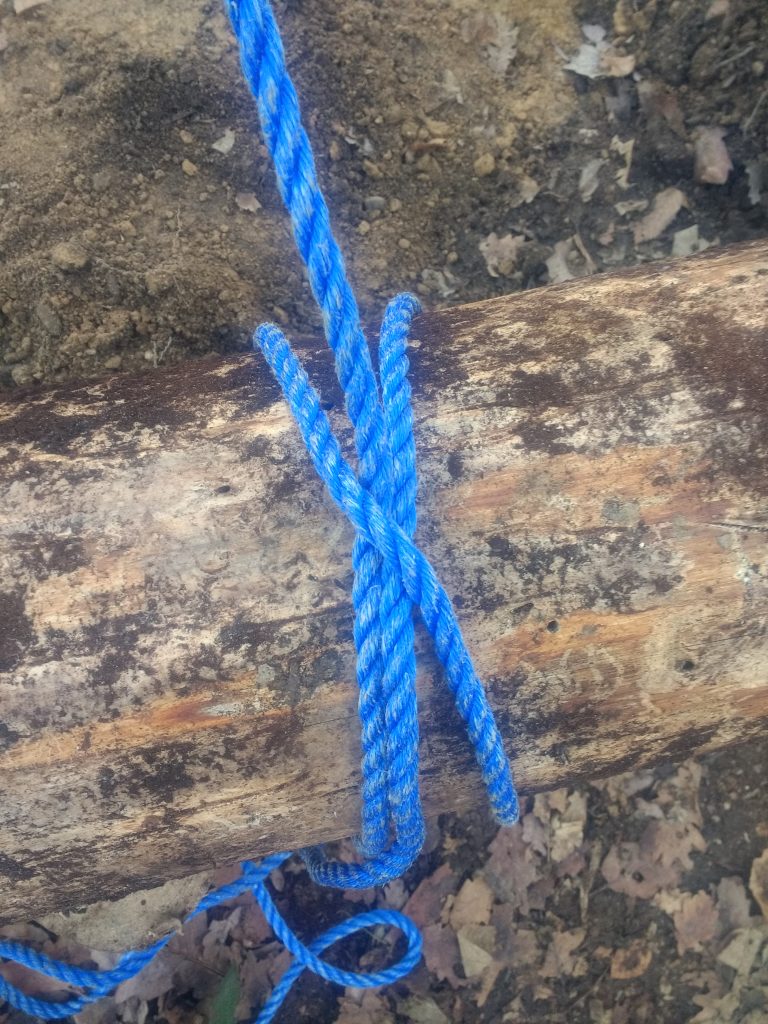
Clove Hitch
Once you can climb, you’ll want to build a tree house. But to make a tree house, you need to learn how to connect beams together. For this you’ll need to make a square lashing, which begins with the clove hitch. But don’t worry, the clove hitch is easy. First, you wrap the rope twice around the beam, crossing the loops, just like the fisherman’s knot. But this time, instead of threading the rope through both loops, you only thread it through one, to second one you made, and pull it tight. It should then look like this.
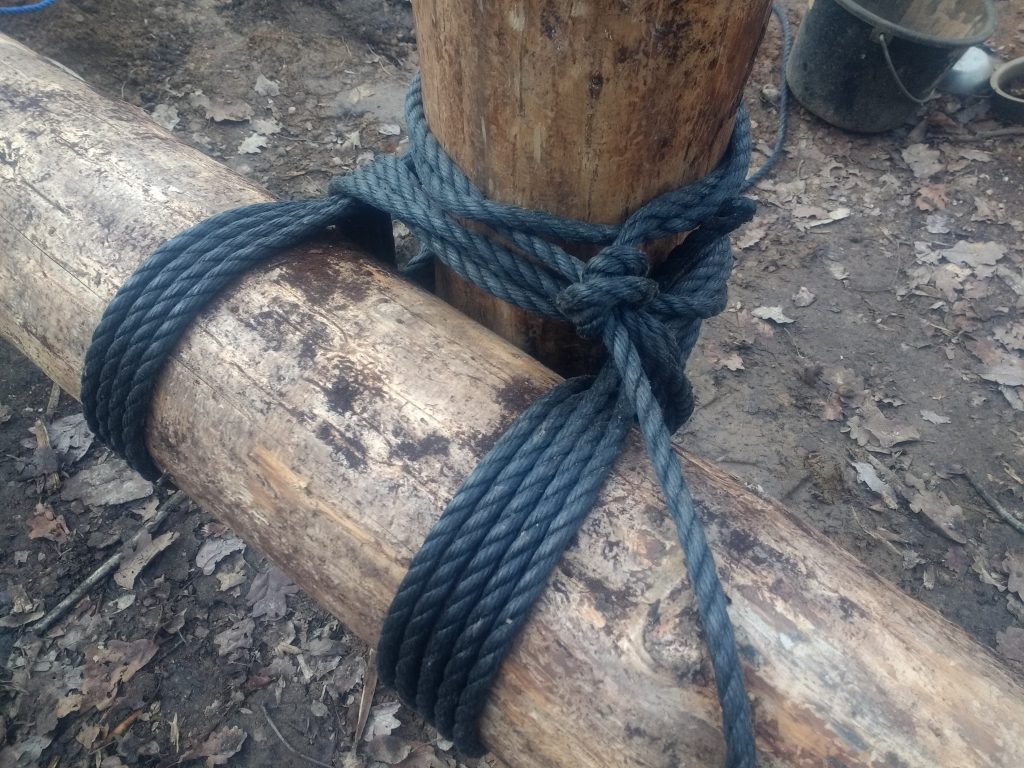
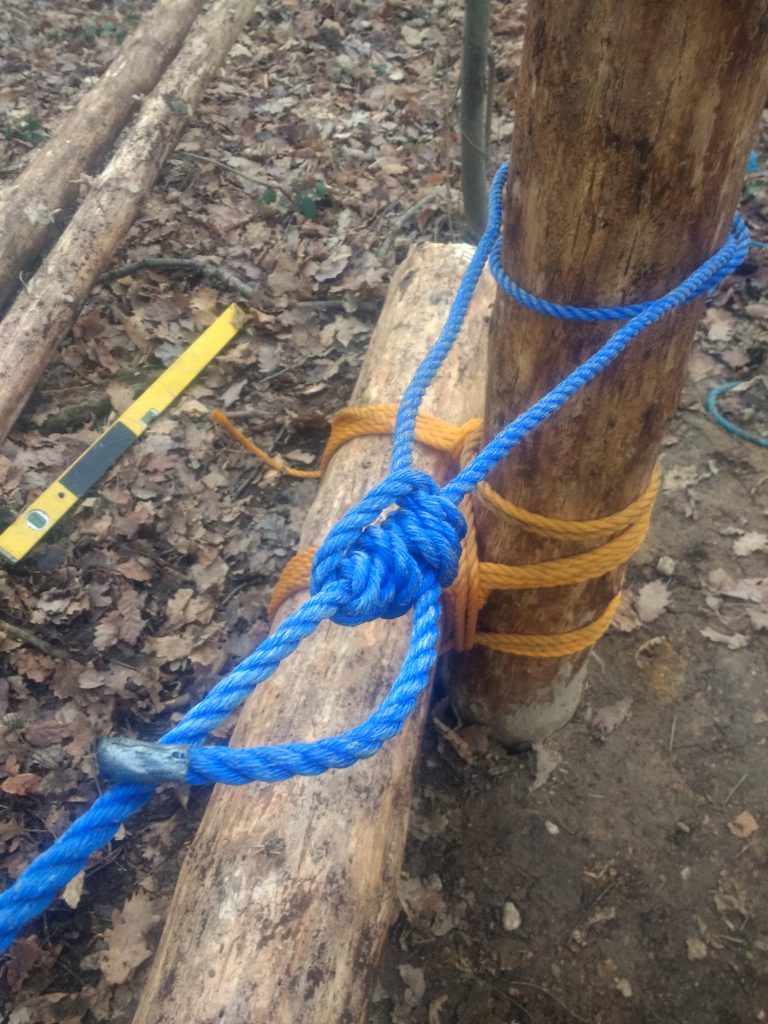
Square Lashing
To make the square lashing, take a piece of rope and tie it to one pole beside the pole you want to connect it to, using a clove hitch. Close the loose end of the rope with the fisherman’s knot. Then wrap the rope over the front of the horizontal pole then around the back side of the vertical pole, and over the front of the horizontal piece on the other side. Then go back around the back side of the vertical pole, the front of the horizontal on the side you started from. Be sure to pull the rope tight each time to keep the tension.
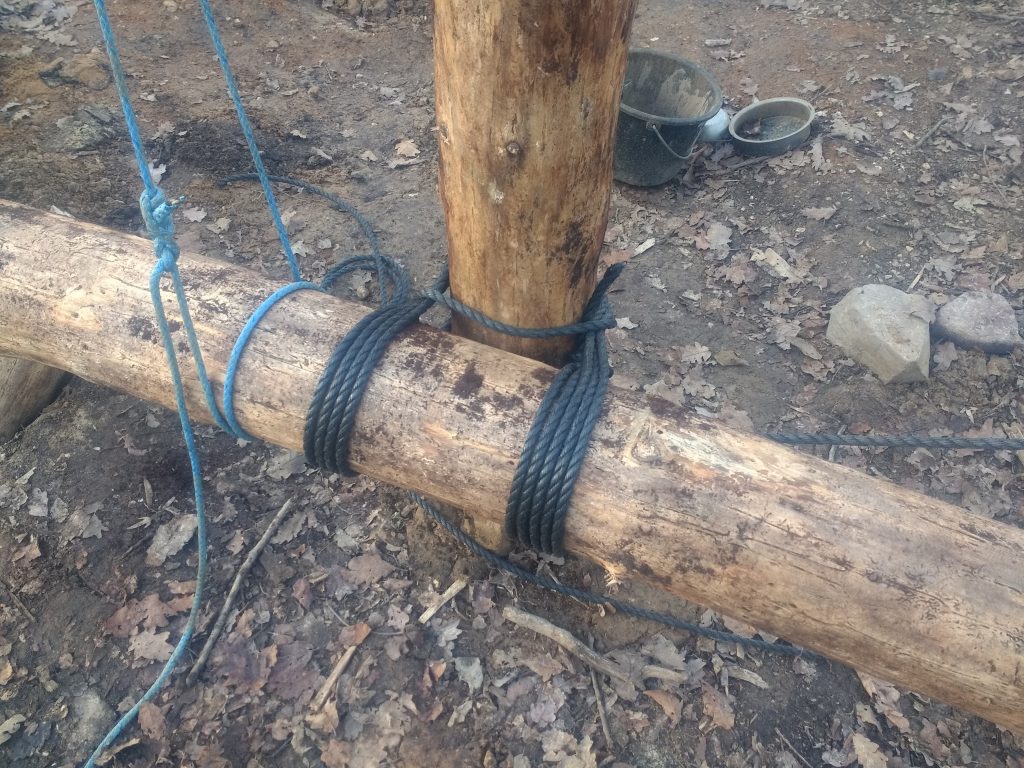
When you have done this three or four times (or more or less depending on the weight of your poles and what it will support) then wrap the rope around your loops a few times in the space between the two poles. Remember to pull it tight. When this is one, tie the loose end of the rope onto the lashing using the fisherman’s knot.
Once you can do this, you can make the support beams for your tree house, and the rest is just like building on the ground.
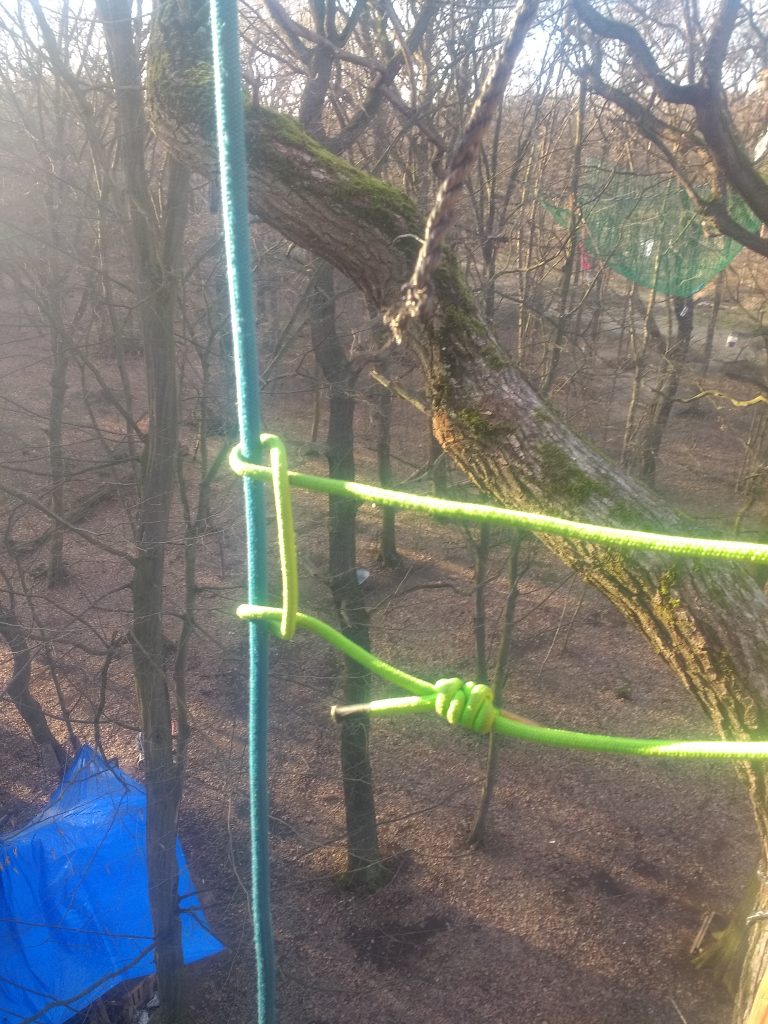
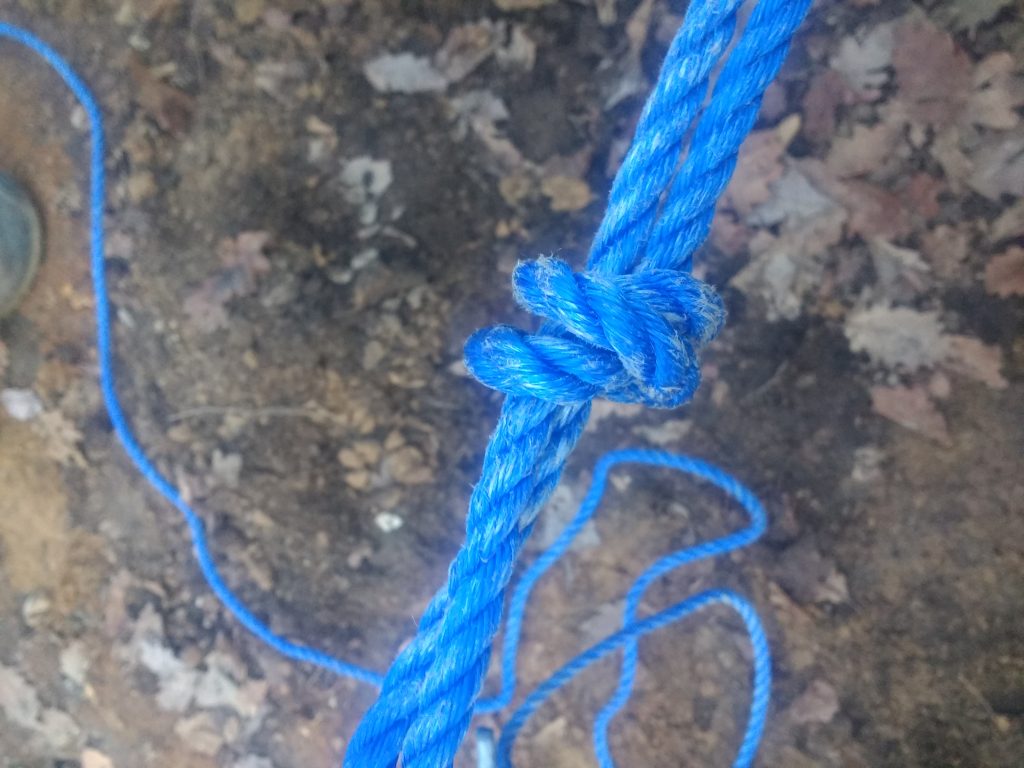
Blake Hitch
This is a simple and useful that is an alternative to the prussik for climbing, as well as being a quick and flexible load bearing knot.
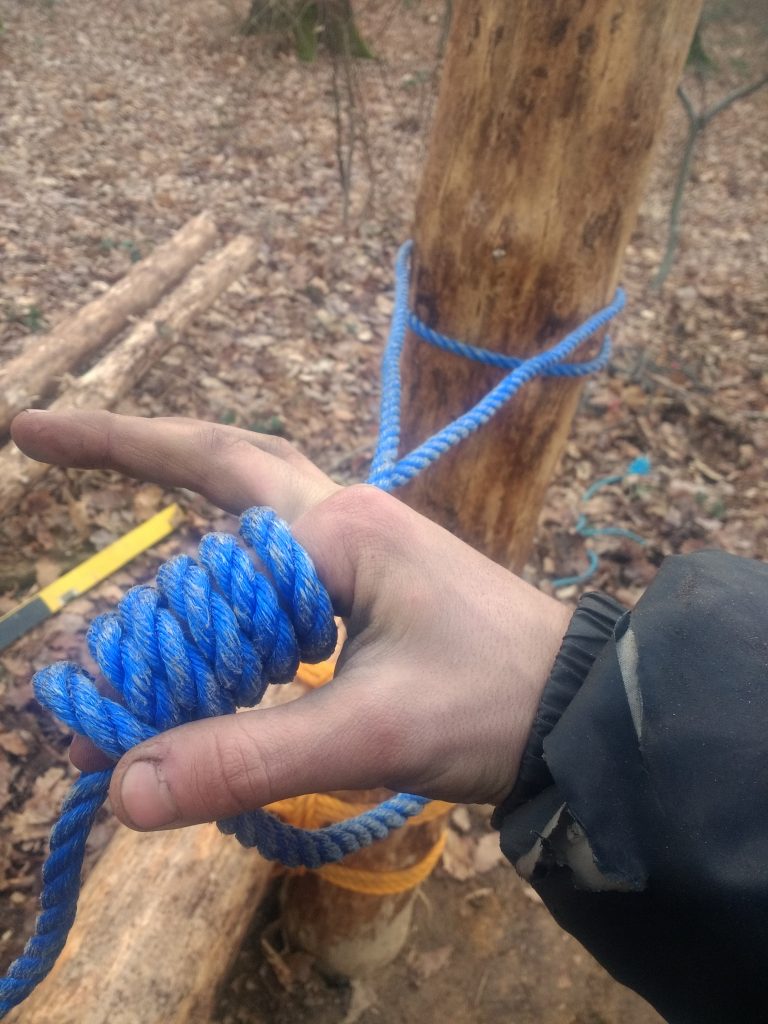
Take one end of the rope and wrap it at least four times around your finger (with more loops the heavier loads it has to hold). When you reach the last wrap around, take your finger out and thread the rope through half the loops and then back out. Pull tight. You know have a secure knot that is easy to untie when it has done its job.
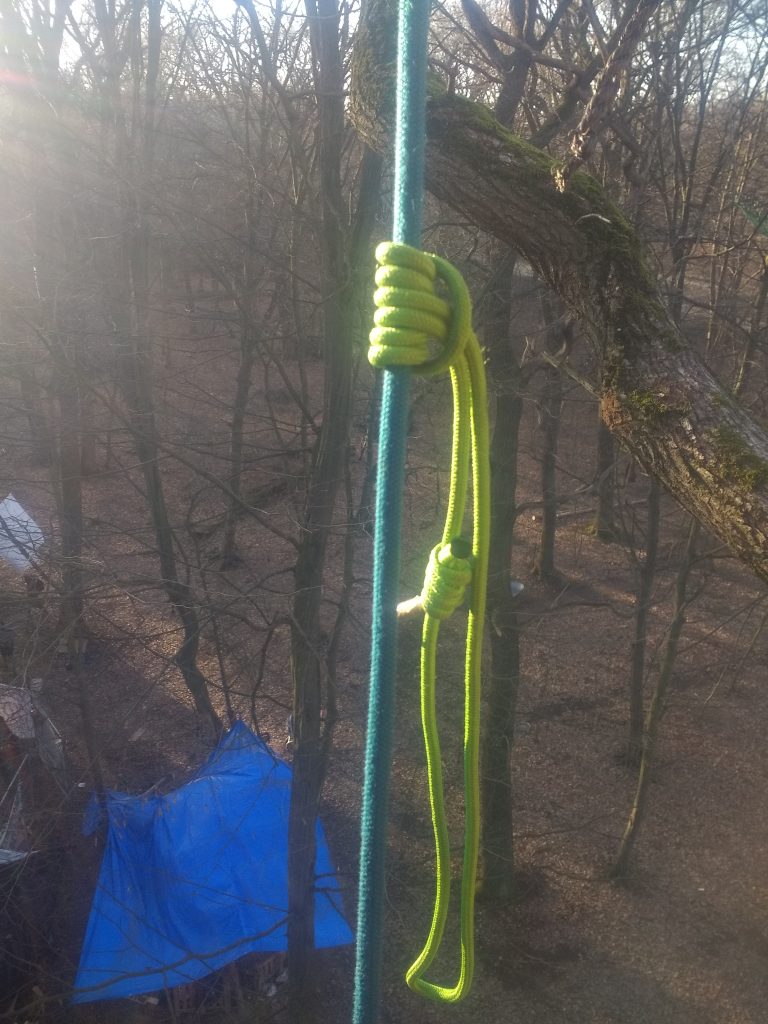
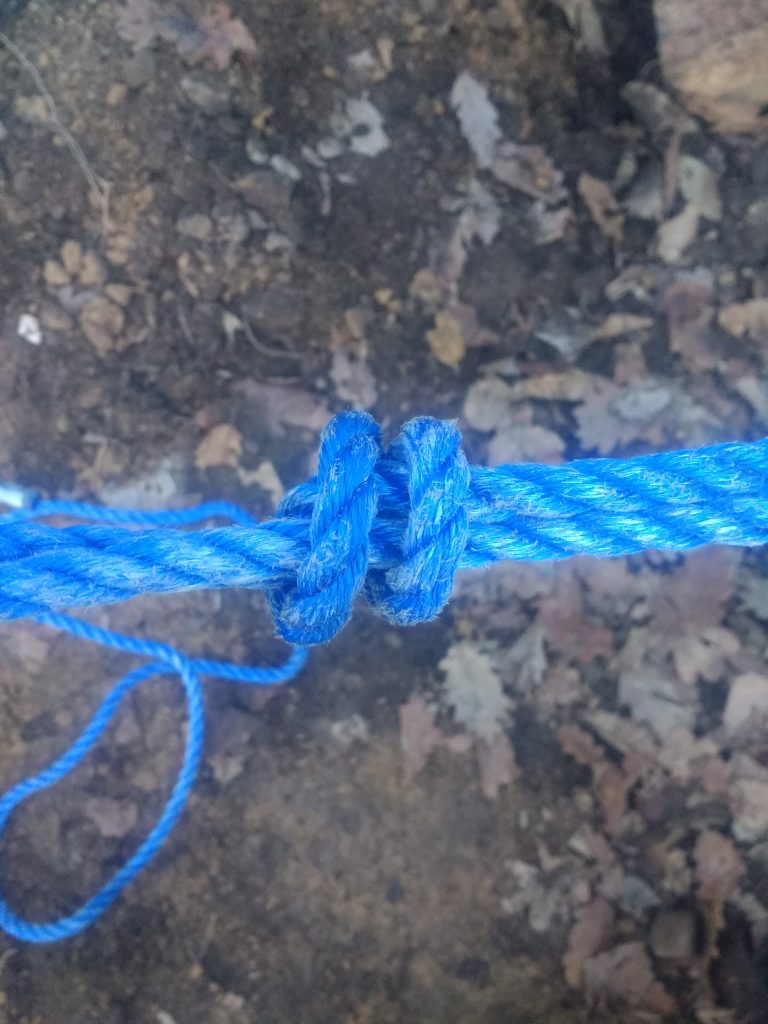
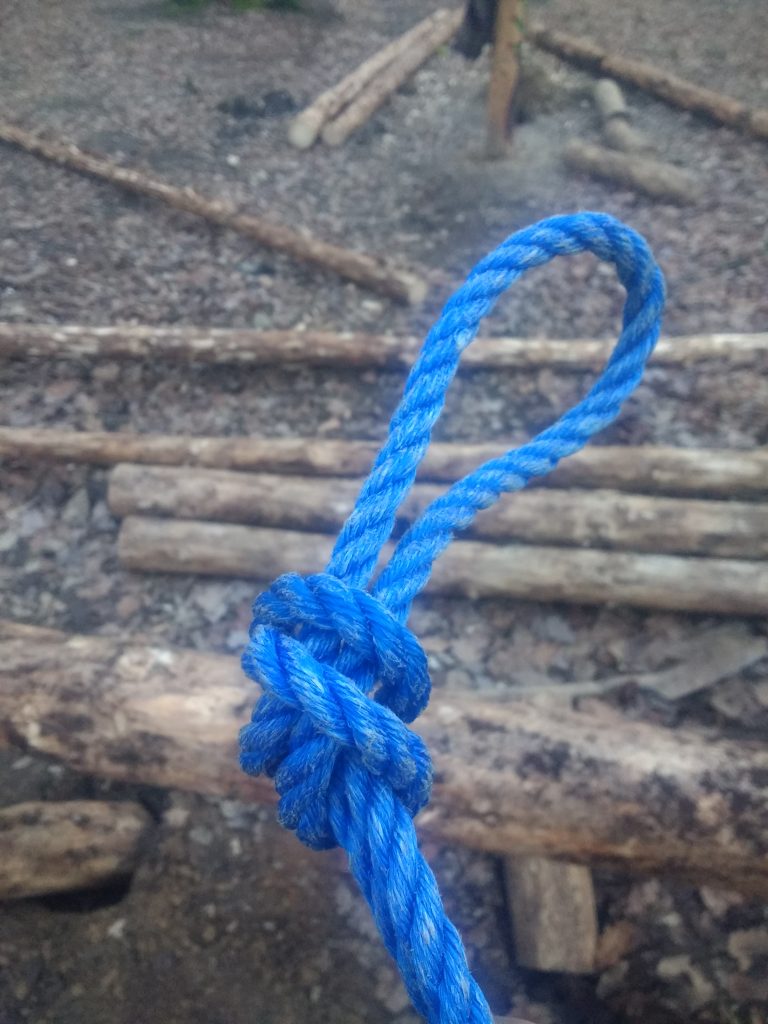
Butterfly Loop
A handy knot to make create a loop in a rope, either to make the rope shorter, or for load bearing in the middle of a rope.
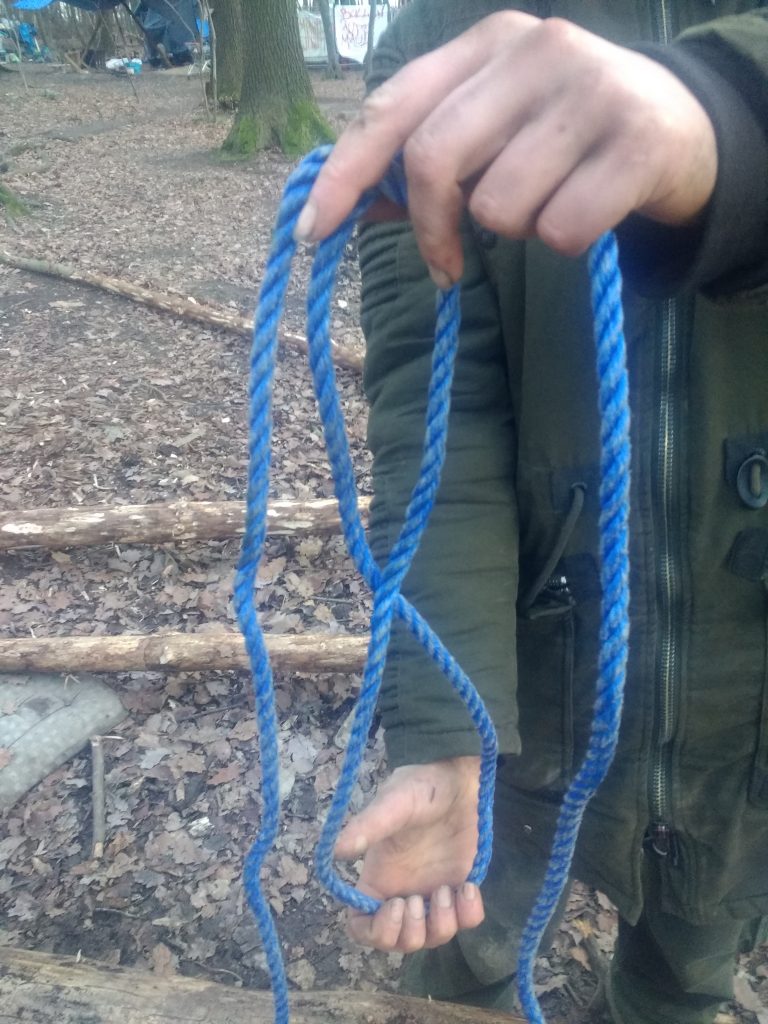
Begin by taking the rope you want to use and make a figure of 8 with it. Then take the bottom half of the 8, bring it back round over the top of the rope, and loop it through the top part of the 8. Pull tight and you have your knot.

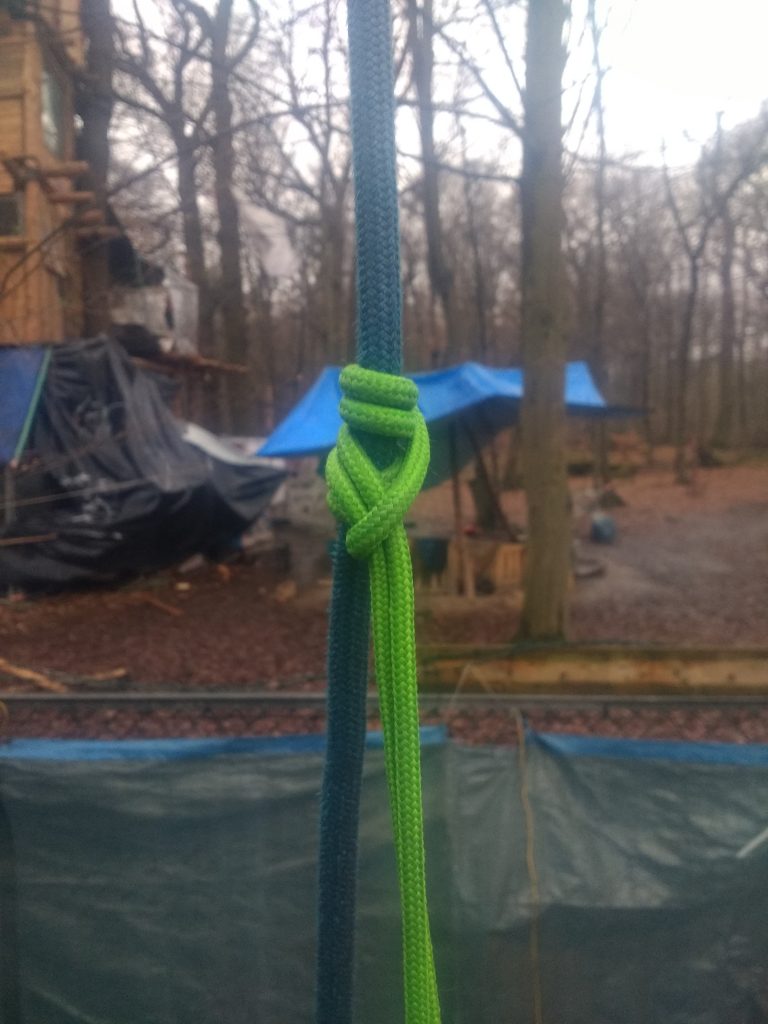
Figure 8 loop
The Figure 8 loop is another knot for creating a loop, but should not used for heavier loads. Double the rope into a bight, then wrap it back over the rope and thread it through the newly created loop. Simple.
Respect to the people of Hambacher Forst for passing on these skills to hundreds of people so that forests everywhere can be saved from destruction. And Igal, Muskat, and Baloo for passing them onto me 🙂